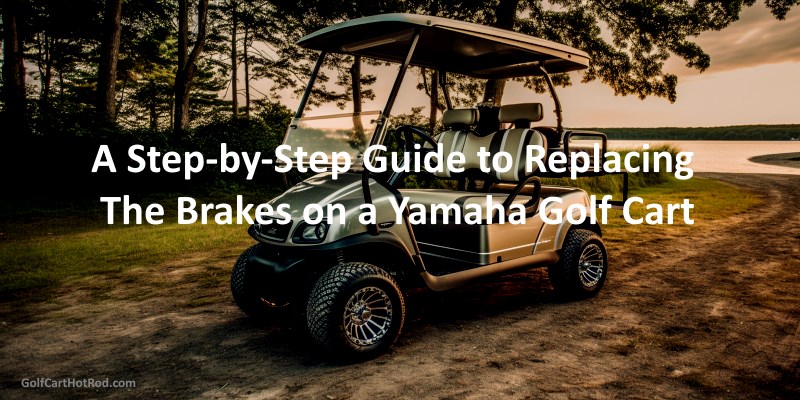
A Comprehensive Guide to Replacing Brakes on an EZGO Golf Cart.
Although the brake maintenance and brake replacement is done on an EZGO, this will work for most drum brake carts. This fix is mostly the same for Club Car, Yamaha, Cushman, Garia, and many others.
Brakes are an essential part of any vehicle, including an EZGO golf cart. However, like all mechanical parts, they wear down over time, which means that they will require replacement at some point. This article provides a detailed, step-by-step guide on how to replace the brakes on your EZGO golf cart.
Before we begin, you will need a few essential tools: a set of wrenches, a socket set, a flat-head screwdriver, a pair of pliers, a jack, and jack stands. Also, ensure that you have a new set of brake shoes ready for replacement.
Step 1: Safety First
Before starting the replacement process, make sure that the golf cart is parked on a flat, level surface. Use chocks to block the wheels, ensuring that the cart doesn’t roll away. Always remember that safety should be your top priority.
Step 2: Raise the Golf Cart
Using the jack, carefully raise the rear part of the EZGO golf cart. Once you have raised it to a comfortable working height, place the jack stands underneath the frame for support. This precaution ensures stability while working on the brake assembly.
Step 3: Remove the Wheels
The next step is removing the rear wheels. You will need a socket wrench for this job. Turn the lug nuts counterclockwise to loosen them, and then remove the wheels. Make sure you keep all the parts in a safe place, as you will need them when you put the wheel back on.
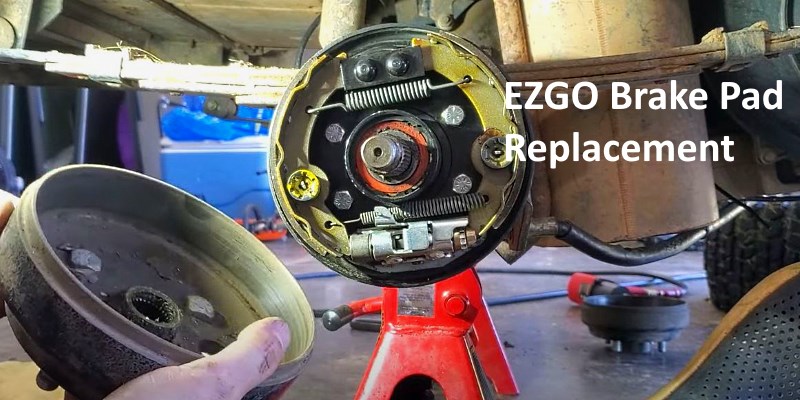
Step 4: Remove the Brake Drum
After removing the wheels, you will see the brake drum, which houses the brake shoes. The brake drum can be removed by pulling it straight off the axle. If the drum is stubborn, try tapping it with a rubber mallet to loosen it.
Step 5: Remove the Brake Shoes
Inside the drum, you’ll see the brake shoes held in place by a set of springs and retainers. To remove the brake shoes, use a pair of pliers to grip and remove the springs. Then, use the flat-head screwdriver to pop off the retainers. After that, you can slide the brake shoes off.
Step 6: Install the New Brake Shoess
Now that you’ve removed the old brake shoes, you can install the new ones. This is a direct reversal of the removal process. Position the new brake shoes and then reattach the springs and retainers. Ensure that they are secure before proceeding.
All of the parts used in the video can be found here.
Step 7: Replace the Brake Drum
Once the new brake shoes are securely in place, replace the brake drum. It should slide onto the axle and over the brake shoes easily. If it doesn’t, check to see if the brake shoes are correctly installed.
Step 8: Put the Wheels Back
With the brake drum in place, the next step is to put the wheels back on. Align the lug nuts with the holes in the wheels and screw them in by turning them clockwise. Make sure they’re tightly secured.
Step 9: Lower the Golf Cart
Now that the wheels are back in place, carefully remove the jack stands and lower the golf cart using the jack. Ensure that the cart is stable before removing the jack entirely.
Step 10: Test the Brakes
Your final step is to test the new brakes. Start the golf cart and drive it slowly, applying the brakes to ensure they’re working correctly. They might feel a bit tight at first, but they should loosen up with use.
In conclusion, replacing the brakes on an EZGO golf cart is a straightforward process that can be done at home. Always ensure that you have the correct tools and replacement parts before beginning.
More EZGO repair help here.