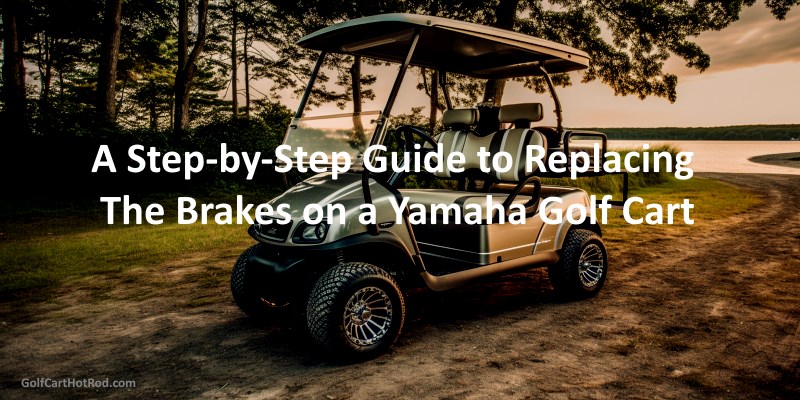
A Step-by-Step Guide to Replacing the Brakes on a Yamaha Golf Cart.
Although the brake maintenance and brake replacement is done on a Yamaha G22, this will work for most drum brake carts. This fix is mostly the same for EZGO, Club Car, and many others.
A golf cart is a helpful little vehicle, whether you’re cruising across the greens or navigating your way around a large property. Yamaha, a renowned manufacturer of a wide range of vehicles, including golf carts, is known for its durable and reliable models. However, just like any vehicle, the brakes of a Yamaha golf cart can wear down over time, requiring a replacement to ensure safety and optimal performance. In this article, we will provide a comprehensive guide on how to replace the brakes on your Yamaha golf cart.
Tools Needed:
Socket wrench set
Pliers
Jack and jack stands
New brake shoes
C-clamp
Screwdriver
Brake parts cleaner
Brake grease
Step 1: Safety Precautions
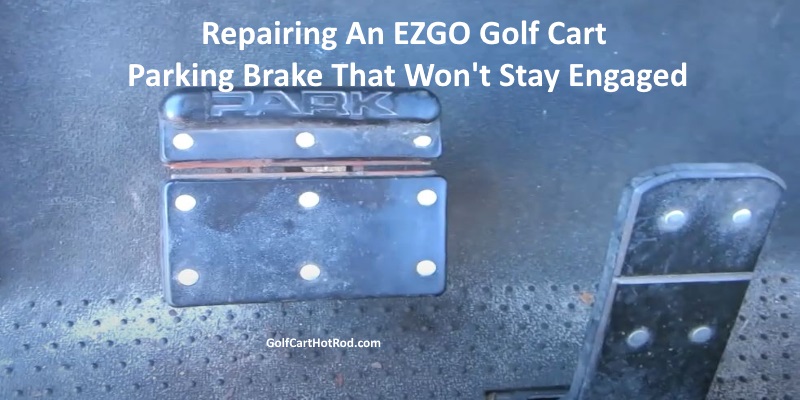
Before you start, ensure that the parking brake is not engaged, and the key switch is in the ‘off’ position. Remove the key to avoid accidental startup. Always remember, safety is paramount when dealing with machinery.
All of the parts used in the video can be found here. The wheel spacers can be found here.
Step 2: Raise the Golf Cart
Use the jack to lift the rear of the golf cart, making sure it’s secure before starting any work. Once the golf cart is raised, place the jack stands under the vehicle to ensure it stays safely elevated during the process.
Step 3: Remove the Wheels
Utilize the socket wrench to remove the lug nuts holding the wheels in place. After the lug nuts are removed, you should be able to pull the wheels off the axle easily.
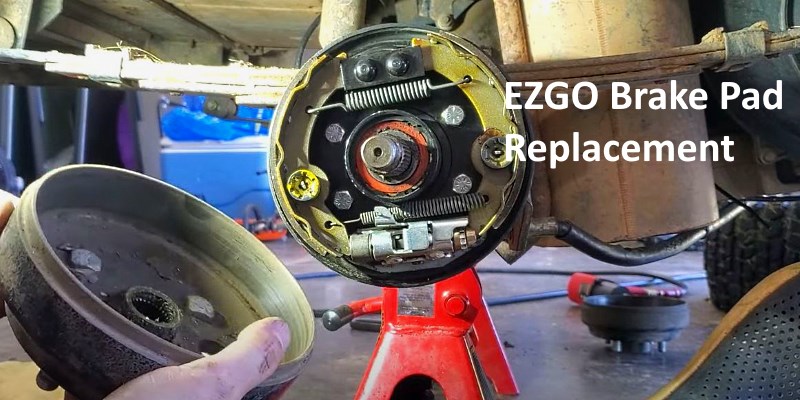
Step 4: Remove the Brake Drum
On the end of the axle, you’ll find the brake drum. Remove this by pulling it off the axle. If it doesn’t come off readily, you may need to tap it gently with a rubber mallet. The brake shoes and springs should now be visible.
Step 5: Take Out the Old Brake Shoes
Using your pliers, carefully remove the springs that hold the brake shoes in place. Be careful to note the orientation of the springs and shoes; taking a photograph might be useful here. After the springs are removed, you can pull the brake shoes off. You may need a screwdriver to pry the shoes off the brake plate.
Step 6: Clean the Brake Assembly
Use the brake parts cleaner to thoroughly clean the brake assembly. Make sure to remove any dust, grime, or rust that may have built up. This will ensure that the new brake shoes can operate at their best.
Step 7: Install New Brake Shoes
Now it’s time to install the new brake shoes. Position them just as the old ones were arranged. Once in place, reattach the springs. Make sure to use brake grease on the contact points where the shoes touch the brake plate. This will reduce wear and provide smoother brake operation.
Step 8: Reinstall the Brake Drum
With the new brake shoes installed and the springs in place, the brake drum can be reinstalled. It should fit over the new shoes. If it doesn’t fit, you may need to adjust the brake shoes.
More Yamaha Golf Cart repair help here.
Step 9: Replace the Wheel and Lower the Golf Cart
After reattaching the brake drum, you can put the wheel back on the axle. Hand-tighten the lug nuts initially, then fully tighten with a socket wrench once the golf cart is lowered. Repeat the process on the other side.
Step 10: Test the Brakes
Once you’ve replaced the brakes on both sides, it’s important to test your golf cart. Start the golf cart and drive slowly, applying the brakes periodically. They should respond smoothly and promptly.
Step 11: Adjustment (if necessary)
If you find the brakes aren’t responding as they should or you feel they’re too tight or too loose, you may need to make adjustments. The adjuster is located at the rear of the brake assembly, typically accessible through a hole in the backing plate. Use a screwdriver to either tighten or loosen the adjuster until you achieve the desired brake response.
Step 12: Regular Maintenance
After successfully replacing the brakes, it’s important to maintain them to extend their lifespan. Regular inspection for wear and tear, keeping the brake parts clean, and adjusting when necessary are all part of this upkeep process.
In the grand scheme of things, knowledge of basic golf cart maintenance can go a long way in extending the life of your cart and optimizing its performance. Replacing the brakes on your Yamaha golf cart is not an overly complex task, but it does require a degree of mechanical aptitude and the right tools. It’s an essential skill for any golf cart owner that ensures your safety, and the process itself can be quite rewarding.
Always remember, however, that if you’re uncertain about any part of this process or if the brakes still don’t seem to function correctly after replacement, it’s wise to seek professional help. Sometimes, a problem may seem simple but could be a symptom of a more complex issue that only a professional can diagnose. Safety should always be your primary concern. Enjoy the ride and the peace of mind that comes from knowing your golf cart is in good working order.
All of the parts used in the video can be found here.